Abstract
As the german conference DOAG K+A is approaching very fast, I have to finalize my talk. As I prepared my demo already several months ago (on the one hand good, it’s done, on the other hand bad, I have to rehearse it), I might as well write about it.
This is gonna be a serious of posts that will provide one solution on how to do advanced reporting using jOOQ and basically mapping queries on HTTP endpoints with Spring Boot. We also gonna add a nice frontend to the mix based on Oracle JET.
I used NetBeans throughout the demo. It’s a highly versatile IDE that not only helped me a lot creating the buildfile for maven, but also supports me in managing my Oracle Datebase inside a Docker container.
There will be two “bonus” topics: Creating an Oracle Database inside a Docker container and using the Oracle Maven repositories for an “original” copy of the Oracle JDBC driver.
Be aware that some things maybe feels very simple to you if you are an experienced Spring Boot developer, but remember that this demo is developed for an audience that probably has little knowledge of Spring Boot or even Java.
As I’m gonna add posts to this series, I’ll push the commits to this repository: michael-simons/DOAG2016, planing to have it fully populated by the end of November.
Content
- Part 1: Database centric applications with Spring Boot and jOOQ (this post)
- Part 2: Create a Oracle Database Docker container for your Spring Boot + jOOQ application
- Part 3: Take control of your development databases evolution
- Part 4: An HTTP api for analytic queries
- Part 5: Oracle JET: JavaScript components for mere mortals?
Create a basic Spring Boot project providing jOOQ support
The first few commits are basically “generating” a standard Spring Boot project. Spring Boot not only tries to solves common non-functional and functional issues for running effectively and efficiently into production regarding development, configuration and deployment, but also tries to provide consistent, new projects.
You have at least two options: Write your own build file, using either Maven or Gradle, or goto the Spring Initializr. There you can create a basic project skeleton containing your application starter which pretty much looks like this:
package ac.simons.doag2016; import org.springframework.boot.SpringApplication; import org.springframework.boot.autoconfigure.SpringBootApplication; @SpringBootApplication public class Application { public static void main(String... args) { SpringApplication.run(Application.class, args); } } |
which is the state of the application as of #4807ce1.
My favorite option is to use the IDE a support for that task. In my case, I use NetBeans with the NB-SpringBoot plugin which looks like this:
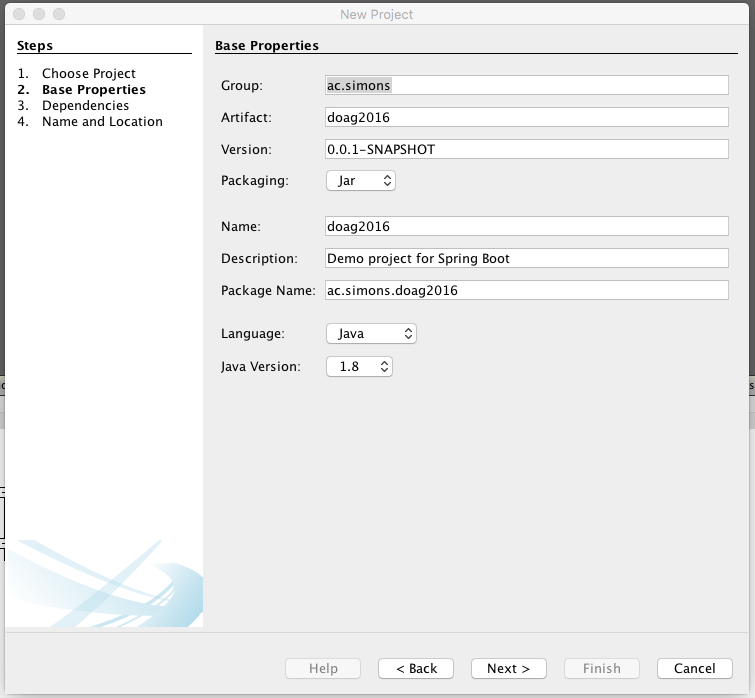
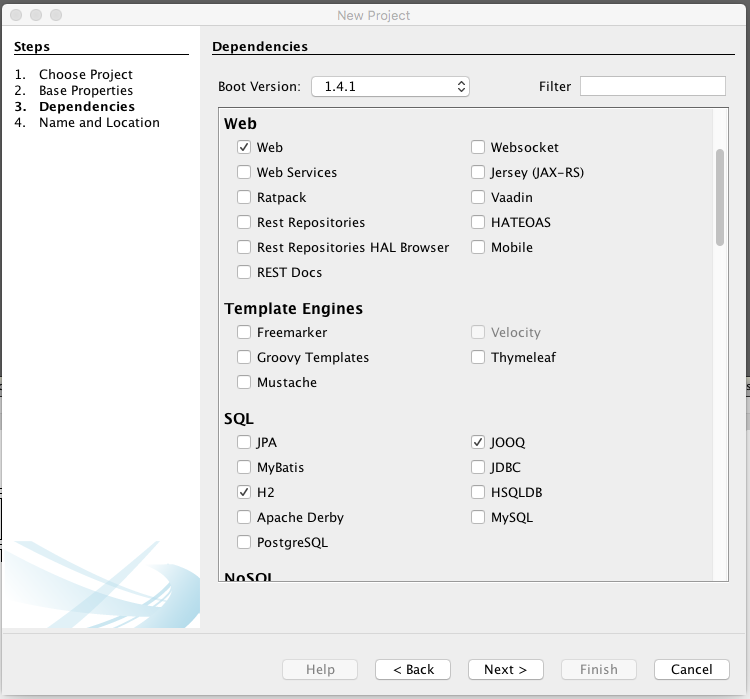
As you can see I selected web, jOOQ, H2 and the developer tools. The developer tools provide (amongst other useful stuff) a class loader that reloads classes and the Spring context if changed. That works really well and is often enough if you don’t want or can’t afford JRebel for that purpose.
Looking at the pom, those are the dependencies that are added:
<dependencies> <dependency> <groupId>org.springframework.boot</groupId> <artifactId>spring-boot-starter-jooq</artifactId> </dependency> <dependency> <groupId>org.springframework.boot</groupId> <artifactId>spring-boot-starter-web</artifactId> </dependency> <dependency> <groupId>org.springframework.boot</groupId> <artifactId>spring-boot-devtools</artifactId> <optional>true</optional> </dependency> <dependency> <groupId>com.h2database</groupId> <artifactId>h2</artifactId> <scope>runtime</scope> </dependency> <dependency> <groupId>org.springframework.boot</groupId> <artifactId>spring-boot-starter-test</artifactId> <scope>test</scope> </dependency> </dependencies> |
This fires up an embedded container, an in-memory database and a creates a JDBC connection ready for use with jOOQ.
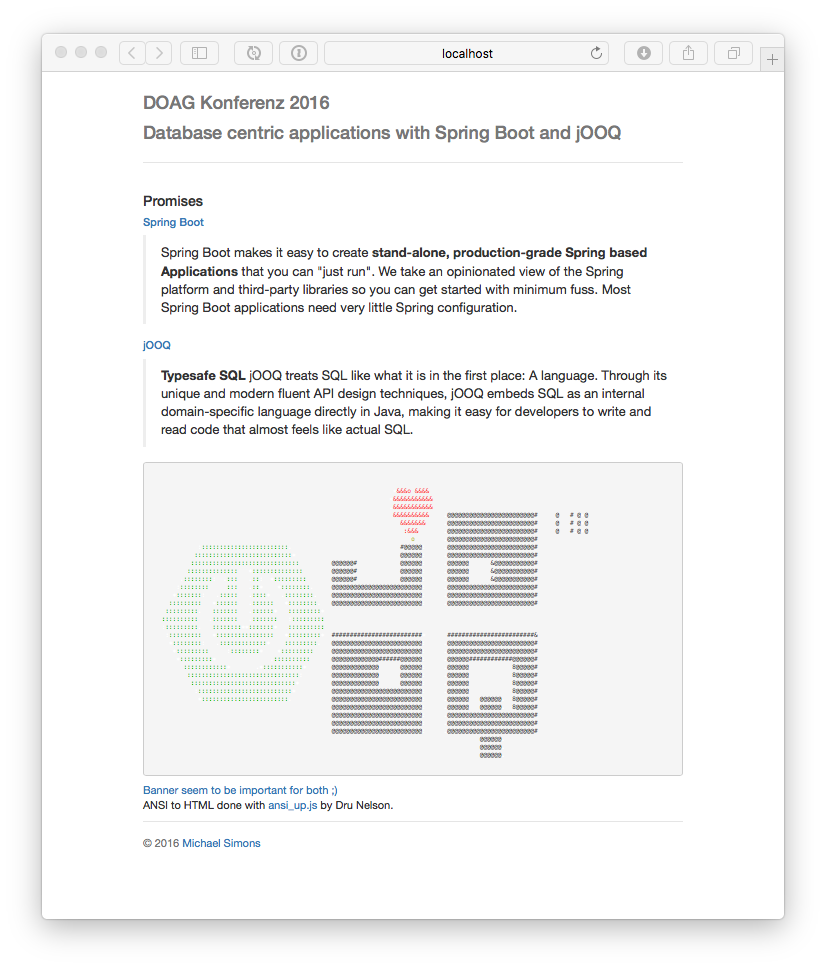
To make this application have some content, I’m gonna add a static index page. Those go preferred into src/main/resources/static, have a look at commit #3307282.
So far we haven’t used any server side computation but only provided the context. Let’s add a simple @Controller that does an important thing: It provides the applications Banner as a rest endpoint. In case you don’t know, Banners are really important for Spring Boot. So important that you can even add your own, either through txt files or image files. Imagine that!
As jOOQ also has a nice banner, i thought why not combining them. banner.jpg is the result of a days labor (I’m not really good at doing stuff involving pixel).
A web controller in Spring Framework is usually a singleton bean annotated with @Controller like this:
@Controller @RequestMapping("/api/banner") class BannerController { private final Banner banner; private final Environment environment; BannerController(final Banner banner, final Environment environment) { this.banner = banner; this.environment = environment; } @GetMapping(produces = MediaType.APPLICATION_JSON_VALUE) public void get(final HttpServletResponse response) throws IOException { try (PrintStream printStream = new PrintStream(response.getOutputStream())) { banner.printBanner(environment, BannerController.class, printStream); } } } |
You might notice that there are only 3 annotations. @Controller marks this as a stereotyped component, @RequestMapping maps the whole thing under the /api/banner url and the @GetMapping maps the #get method.
I don’t have any special annotation on the constructor. The Spring Context is smart enough to use the given constructor as an injection point for the needed dependencies. What the get method actually does is to write banner as ASCII art to the response.
If you checkout the repository above, you can than run the application with ./mvnw spring-boot:run and open http://localhost:8080:
In this part you have learned how to use the Spring Initializr in one of your favored ways and created a first controller. At this point we already have a database connection available, but haven’t used it. The jOOQ DSL context is also already configured.
To make some use of it, we’re gonna switch from the embedded H2 database to an Oracle Database which will be created inside a Docker container.


No comments yet
7 Trackbacks/Pingbacks
[…] this part of the series you’ll learn several […]
[…] you learned how to setup a Spring Boot project that supports jOOQ in this post and then created a Docker container on your local host that provides you with an Oracle Database […]
[…] you have read through the previous parts of this series (1, 2 and 3) and you now have a Spring Boot project with jOOQ enabled, an Oracle Database with a […]
[…] Database centric applications with Spring Boot and jOOQ […]
[…] in 2016, when I first held my talk Database centric applications with Spring Boot and jOOQ, I started to write my story down. Back then, it helped me a lot, so here we go again. Join me on […]
[…] have been speaking about SQL and jOOQ since 2016. Back then, I was already working ENERKO Informatik for a long time. We had been a database shop […]
[…] The data accumulated with that service lead to several variations of this article and talk about database centric applications with Spring Boot and jOOQ. Here is the latest English version of it (in the speaker deck are more […]
Post a Comment